15 Clever Cheap DIY Halloween Decorations That Look Shockingly Expensive
Every October, I get the sudden urge to make my home cozy and festive without blowing through my entire fall budget.
Honestly, creating gorgeous, cheap diy halloween decorations is so much more rewarding than spending a small fortune at big-box home stores.
Grab a hot mug of coffee and sit with me for a minute. I pulled together my absolute favorite projects from around my own house.
cheap diy halloween decorations
1. Textured Faux Terracotta Pumpkins
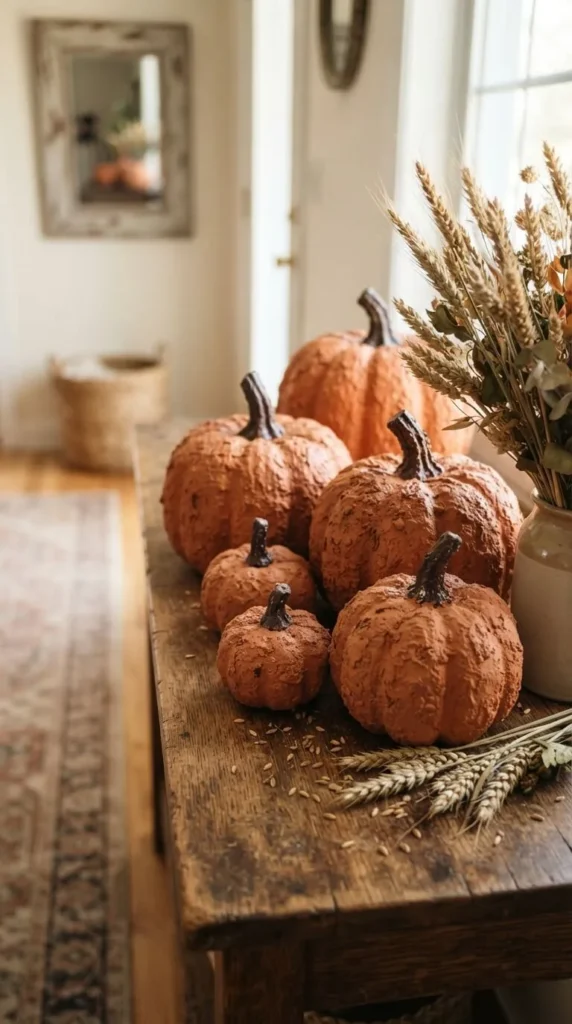
I love the warm, earthy look of trendy pottery pumpkins, but the price tag at designer stores is wild.
Last week, I grabbed several bright orange plastic pumpkins from the dollar store to try an old painting trick.
Mixing one part baking soda into two parts terracotta acrylic paint completely cancels out that cheap plastic sheen.
The mixture dries into a gritty, chalky crust that looks like heavy pottery you found at an antique market.
Styling Note: Cluster them in odd numbers on your entryway console table alongside dried wheat stems for an earthy look.
2. Floating Witch Hat Porch Display
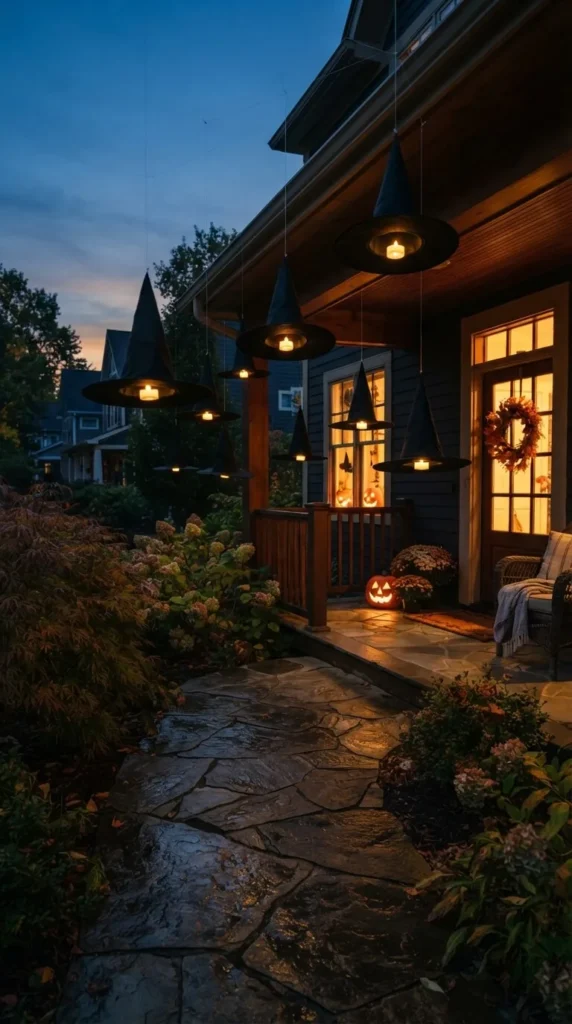
My front porch is always my favorite spot to style once the leaves start turning golden brown.
A few years ago, I bought a multi-pack of basic black felt witch hats online for practically pocket change.
I used a sewing needle to run clear fishing line straight through the pointed tip of each hat.
Then, I safety-pinned a small warm-white battery puck light inside the crown before hanging them from my porch ceiling.
At dusk, they look like they are floating in midair, giving off the softest, magical glow down my front walkway.
Styling Note: Hang them at uneven heights so they look like a playful group suspended across your ceiling.
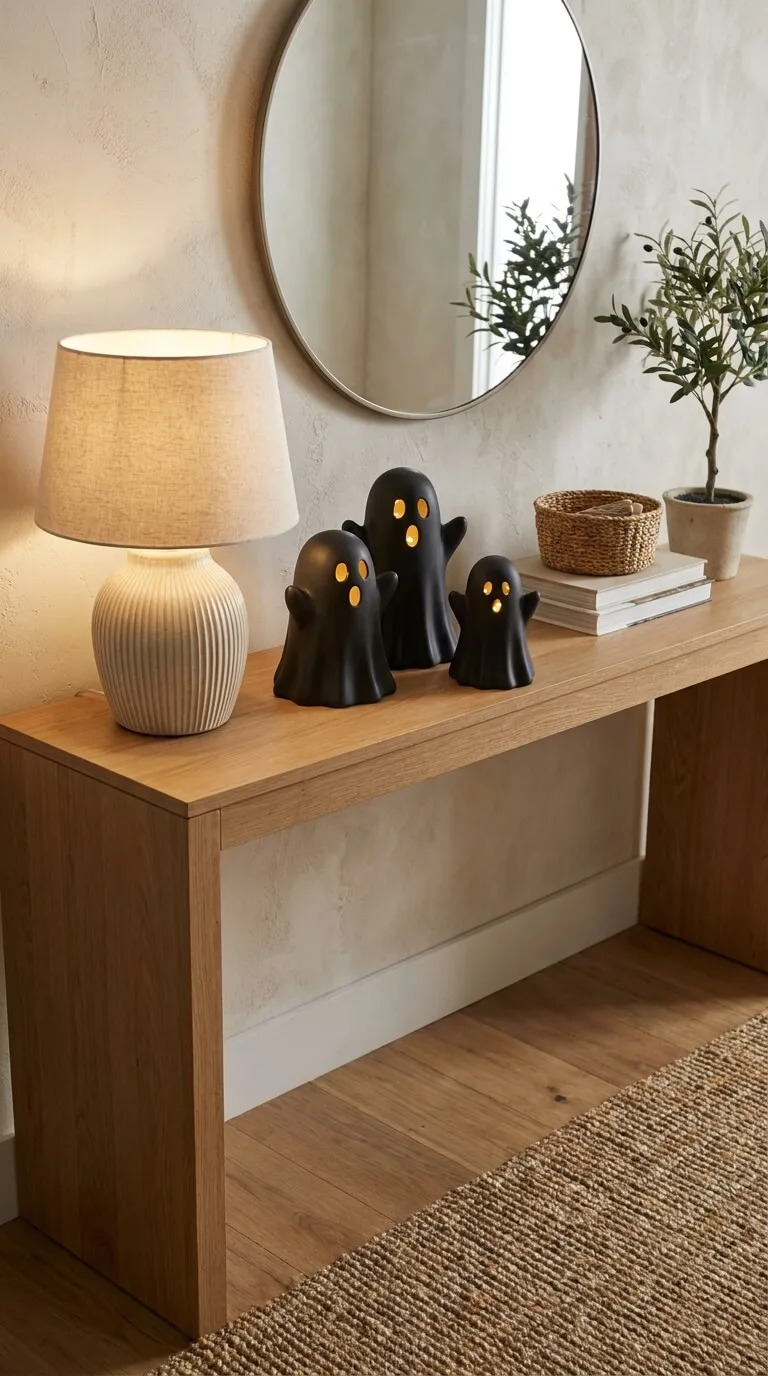
3. Aged Plaster Ghost Candlesticks
Thrifting old wooden candlesticks has become a huge habit of mine whenever I visit local secondhand shops.
For this project, I stuck a small plastic bouncy ball right on top of each candlestick base using painter’s tape.
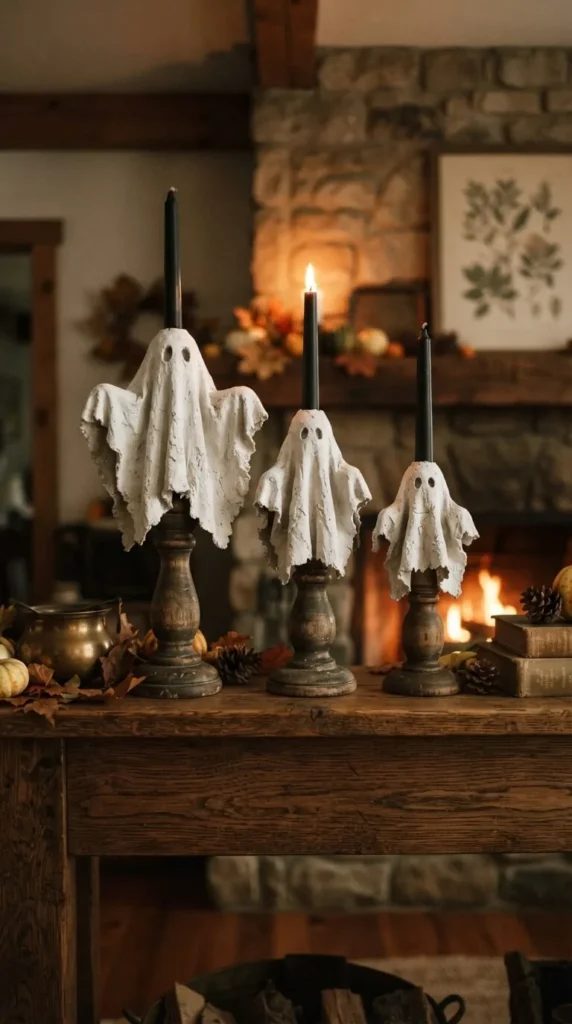
Next, I dipped strips of craft plaster wrap into warm water and draped them over the little wooden pedestals.
You simply pinch the wet fabric into soft folds as it settles around the base and let it dry overnight.
Once completely dry, they turn into rigid, chalky little ghost figures that look like sweet, handmade heirlooms.
Styling Note: Insert matte black taper candles into the tops to give your fireplace mantel a moody, finished look.
4. Thrifted Haunted Gallery Mirror Wall
I always browse the frame section at yard sales because old ornate plastic frames usually sell for two dollars.
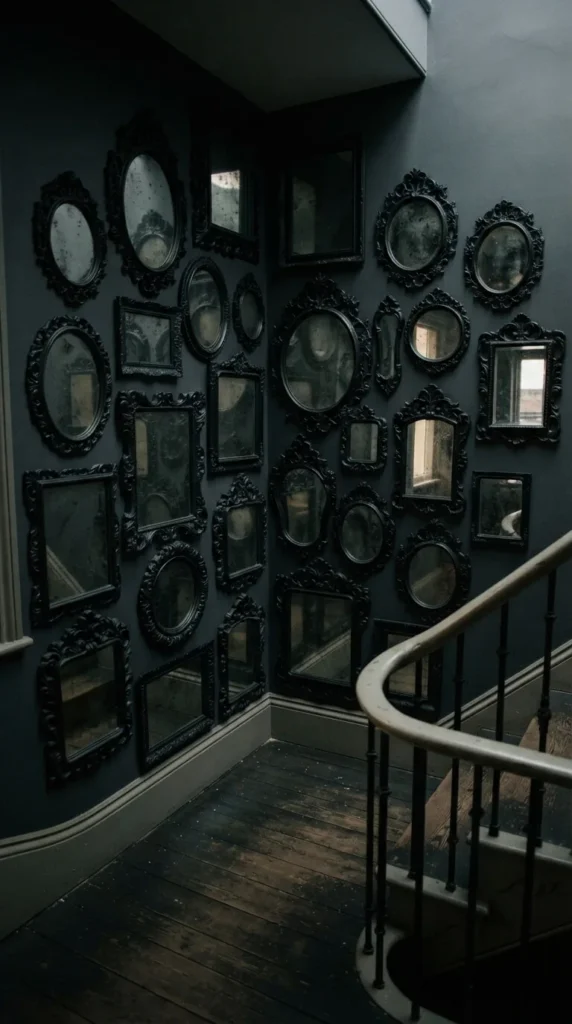
To create an antique wall display, I coated several thrifted mirrors and heavy frames in flat black spray paint.
Here is my favorite trick: lightly mist the back of the mirror glass with water before applying dark paint.
When you blot it gently with a dry paper towel, it looks just like peeling, time-worn mercury glass.
I arranged them tightly together along my stair landing, and the dark frames add such an interesting, moody personality.
Styling Note: Hang your frames close together in a salon cluster above an entryway bench for high visual impact.
5. Bleached Cheesecloth Spiderweb Table Runner
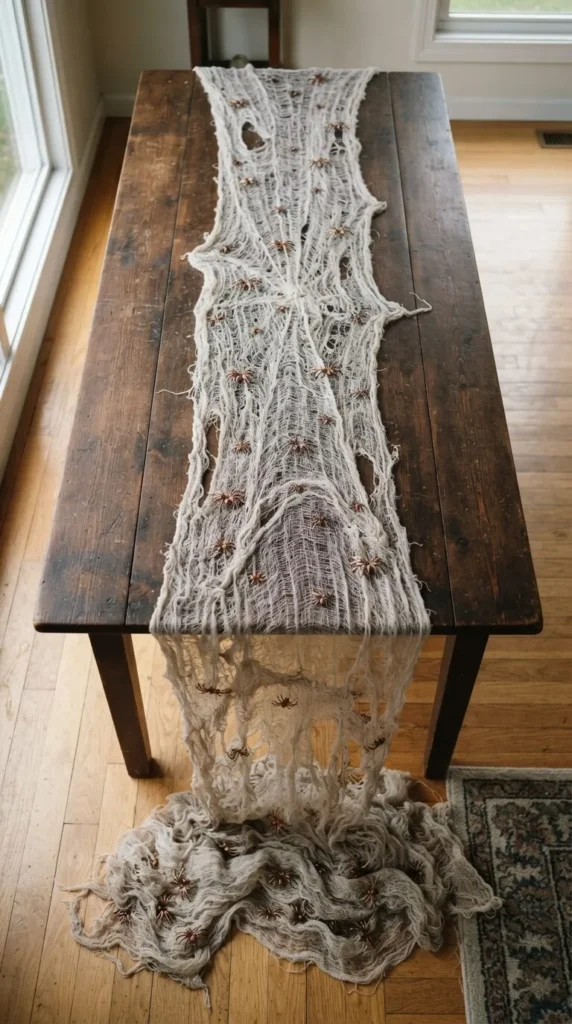
I really dislike the sticky, stretchy polyester webbing from the party store because it gets stuck on everything.
Instead, I buy loose-weave cotton cheesecloth in bulk and soak it in a diluted bucket of grayish-black acrylic wash.
Once it dried in the sun, I snipped tiny starter slits into the fabric with my kitchen shears.
From there, I used my fingers to rip, pull, and shred the threads into realistic, airy cobwebs.
It looks stunning laid down the center of our bare dining table, especially with tiny bronze plastic spiders tucked inside.
Styling Note: Let the frayed ends of the fabric pool onto the floor on both sides of the table.
6. Matte Black Botanical Specimen Jars
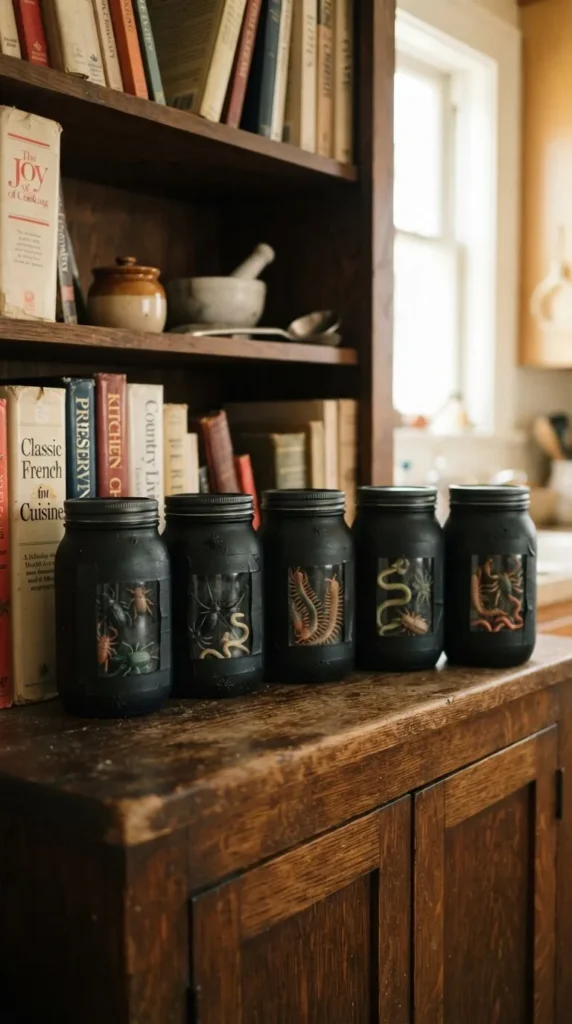
Empty spaghetti sauce and pickle jars are basically free craft supplies, so I save them in my pantry all year.
I glued dollar store plastic beetles and plastic snakes to the inside bases of clean glass jars.
Before painting, I taped a smooth oval piece of paper to the front of each jar using double-sided tape.
Then, I sprayed the entire jar, lid, and base with flat black chalkboard spray paint.
When you peel off the tape, you get a clean viewing window showing a mysterious, shadowy specimen silhouette inside.
Styling Note: Line three or four jars along a dark kitchen bookshelf next to your favorite vintage cookbooks.
7. Draped Fabric Ghost Entryway Garland
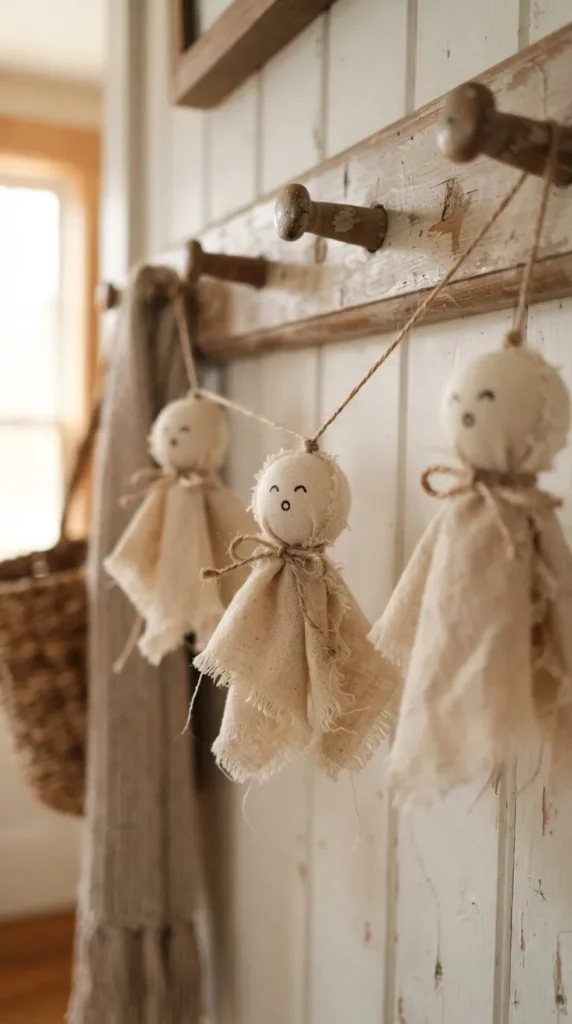
This sweet little garland was inspired by some leftover scrap linen I found tucked inside my sewing basket.
I cut the fabric into small rough squares and wrapped each piece around a two-inch foam craft ball.
A bit of natural jute twine tied beneath the ball creates the cutest little floating ghost head and neck.
I used a stiff wire brush along the bottom raw edges to pull out the threads and fray them nicely.
Then, I drew tiny smiling eyes using a black marker and strung ten of them across my coat hooks.
Styling Note: Drape the garland across an open wooden peg rail or weave it through a stair railing.
8. Faux Bronze Skull Bookend Display
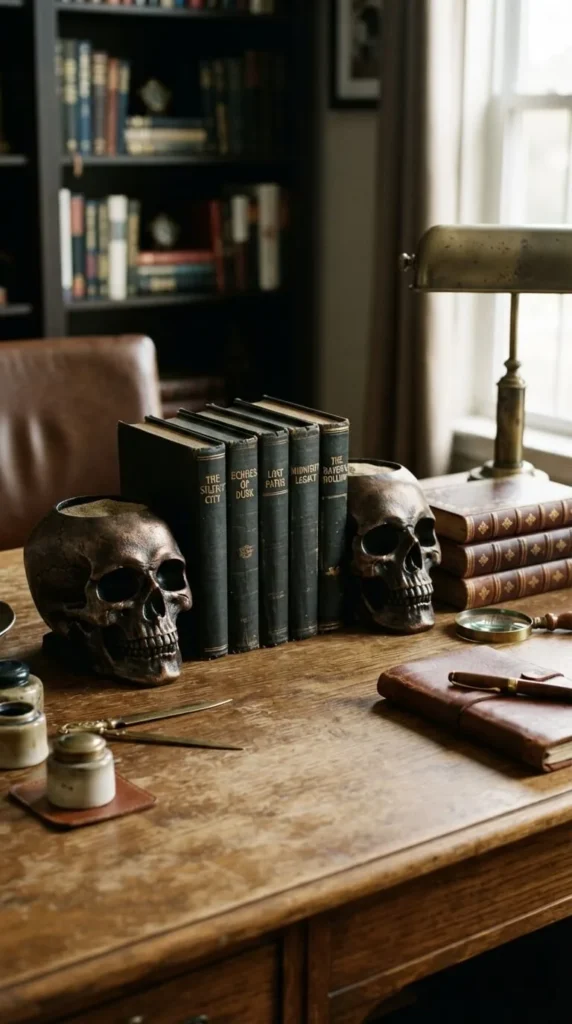
Hollow plastic craft skulls are everywhere in the fall, but they always feel far too lightweight and cheap.
I solved this by cutting a small slit in the bottom and pouring in dry sand before hot-gluing it shut.
That extra weight gives them the heavy feel of real metal hardware before you even start the painting process.
I brushed on dark bronze paint, followed by a light layer of black antiquing wax over the cheekbones.
Now, they sit on my office desk holding up a row of old black cloth-bound novels I collected.
Styling Note: Pair these heavy skull accents with dark leather-bound books and brass accessories for a classic study vibe.
9. Floating Taper Candle Ceiling Display
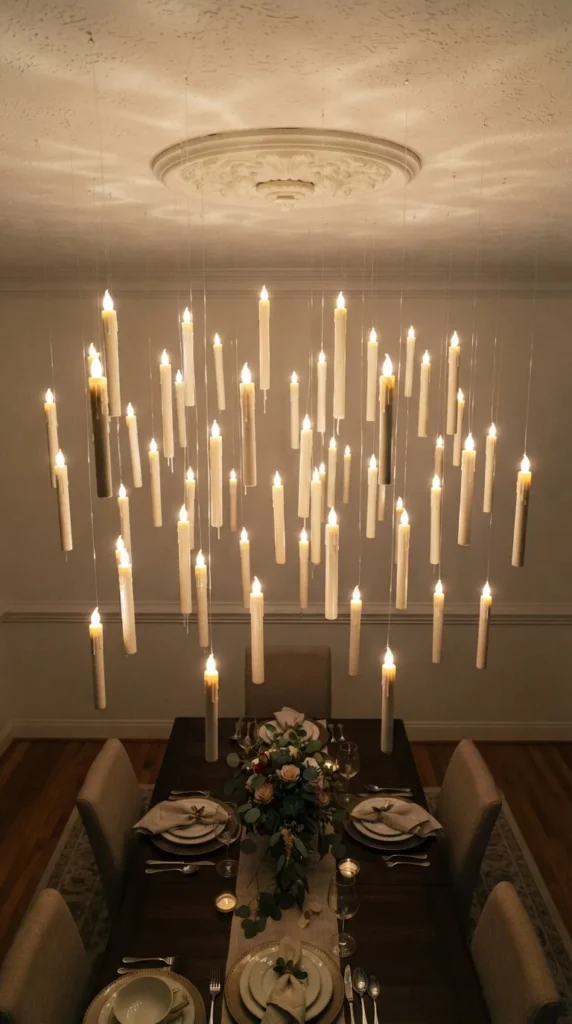
I wanted our dining room to feel like a scene straight out of a cozy storybook for our family dinners.
I bought a pack of battery-operated LED tapers that come with a handy little magic wand remote control.
Before hanging them, I ran hot glue down the sides of each plastic candle to mimic melting wax drips.
A coat of creamy ivory chalk paint completely covered the modern plastic shine and gave them a vintage feel.
I hung them from the ceiling using clear monofilament wire and tiny, damage-free adhesive hooks above the table.
Styling Note: Stagger the candle heights randomly so the cluster feels like an organic, floating cloud of soft light.
10. Weathered Stone Foam Tombstone Cluster

Store-bought foam tombstones always blow away in the wind and look far too neon and cartoonish for my taste.
Last year, I grabbed a sheet of thick rigid insulation foam from the local hardware store for cheap.
I cut out rough tombstone shapes and used a wire brush to gouge realistic cracks and chips into the edges.
A quick coat of textured stone spray paint gave the surface a realistic, rough concrete texture within minutes.
I pushed real sticks into the foam bases and anchored them firmly into our front flower beds among the mulch.
Styling Note: Tuck dark green preserved craft moss into the carved cracks to make the stones look weathered and old.
11. Dark Moody Faux Floral Centerpiece
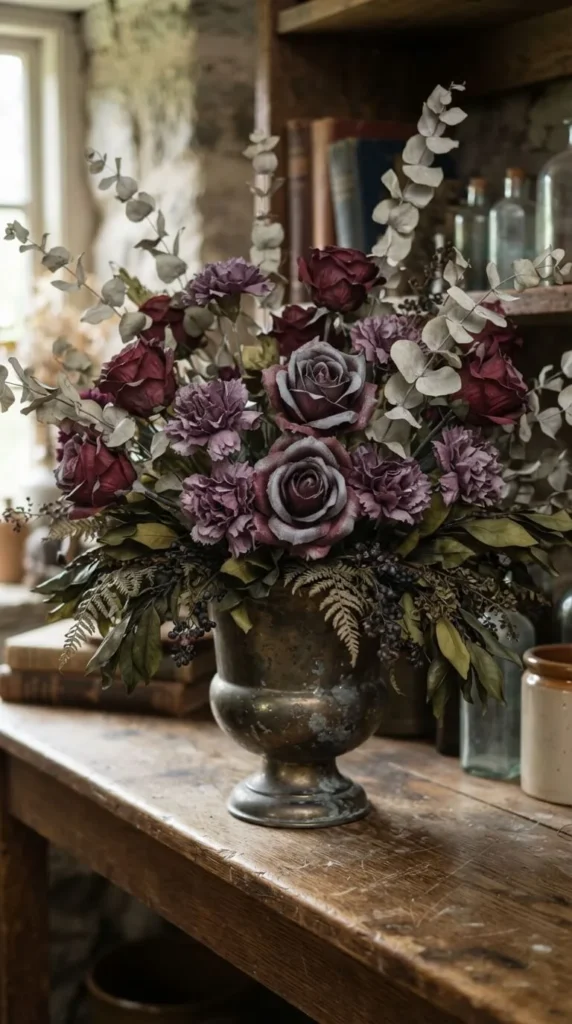
Dollar store faux flowers usually look shiny and synthetic, but a quick dusting of dark paint changes everything.
I took several bunches of cheap burgundy roses and purple carnations out into my backyard on some cardboard.
Holding a can of charcoal gray spray paint two feet away, I lightly misted the petals with quick passes.
Leaving bits of the original floral color peeking through gives the petals a realistic, faded dried-garden appearance.
I arranged them into a thrifted tarnished brass urn, letting the darker leaves spill naturally over the rim.
Styling Note: Add dried eucalyptus branches into the arrangement to bring in extra height and an earthy fall scent.
12. Aged Paper Potion Bottle Vignette

Old glass bottles from apple cider and root beer make the best apothecary supplies when you style them right.
I printed antique poison and potion labels onto standard printer paper using free vintage graphics I found online.
To age them, I soaked the paper in leftover strong black tea for about ten minutes on a cookie sheet.
After baking them dry in a low-temp oven, I carefully scorched the edges with a kitchen lighter for texture.
I glued them onto dark amber bottles using Mod Podge, creating the sweetest little potion shelf on my bar cart.
Styling Note: Group three bottles together on a small wooden tray next to dripping black wax taper candles.
13. Rich Velvet Covered Pumpkin Bowl
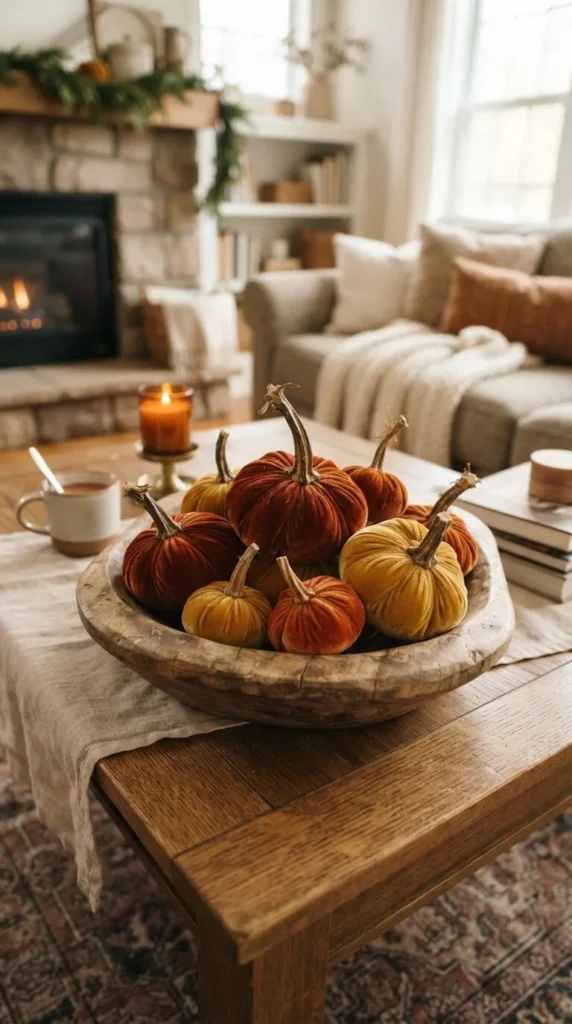
Those miniature neon orange foam pumpkins from discount bins are ripe for a fast, elegant fabric makeover.
I pulled the plastic stems off and wrapped the foam shapes with scraps of rust and mustard velvet.
You simply gather the fabric tightly and poke the raw edges down into the top center hole using scissors.
Instead of reusing the plastic stems, I saved real dried pumpkin stems from our porch pumpkins from last autumn.
A dab of hot glue secures the dried wooden stem right over the fabric gather, hiding every messy seam.
Styling Note: Pile seven or eight velvet pumpkins into a shallow wooden dough bowl on your living room coffee table.
14. Matte Black Flying Bat Wall
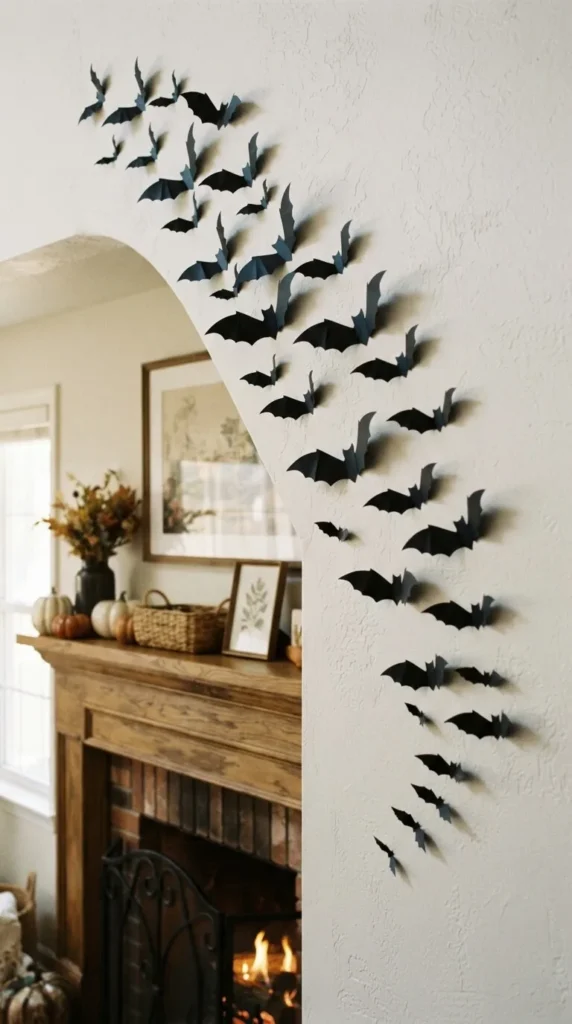
This classic paper project takes about thirty minutes to make, yet it completely wakes up a plain wall.
I traced three different sizes of simple bat outlines onto thick, heavy matte black cardstock and cut them out.
The secret to making them look alive is scoring a crease down the center of each paper bat body.
When you fold the wings forward sharply, they cast deep, dimensional shadows against your light-colored drywall.
I used small dots of removable wall putty to attach them in a swirling wave starting right beside our mantel.
Styling Note: Arrange your bats in an upward diagonal curve so they look like they are flying out the window.
15. Antiqued Gold Painted Mini Cauldrons
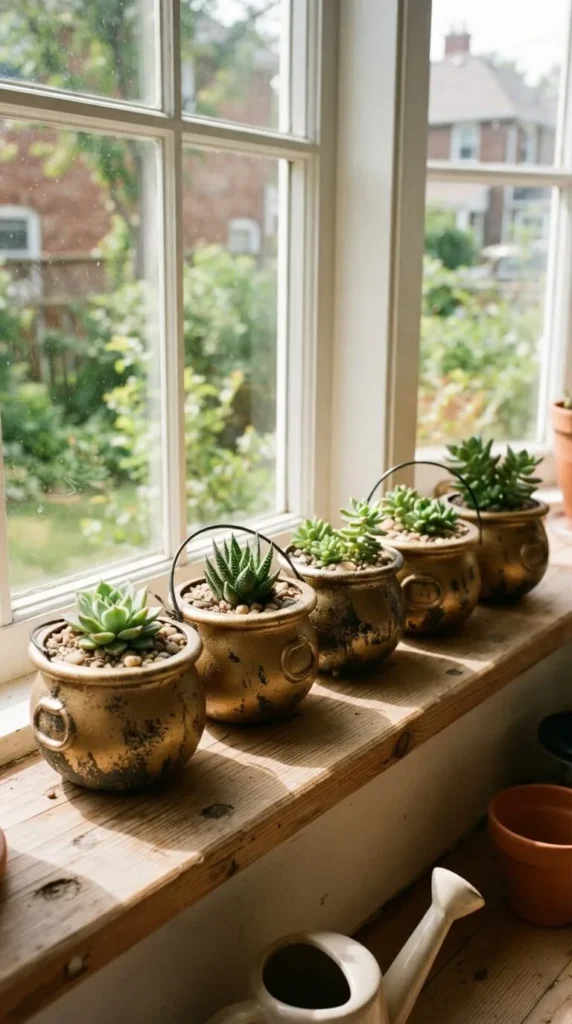
Plastic trick-or-treat cauldrons are staple items at every bargain store, but their shiny finish looks slightly juvenile.
To give mine an upscale brass upgrade, I sprayed them with a gritty texture primer to create surface tooth.
Once dry, I used my index finger to buff antique gold metallic wax paste across the raised curved sides.
The dark textured primer underneath shows through the metallic wax, making the cheap plastic look like cast bronze.
I filled mine with small green potted succulents and set them across our sunny kitchen windowsill.
Styling Note: Fill them with wrapped dark chocolate candies on an open shelf to welcome visiting friends and family.
Decorating for the spooky season does not mean emptying your bank account or filling your house with cheap plastic clutter.
A little bit of paint, some tea-stained paper, and basic craft store finds can completely change your home’s seasonal mood.
Which one of these budget projects are you most excited to try out in your own space this weekend?